Pre-Class Protocol Draft
- Store the cuttlefish bones in a cool, dry place to keep them from humidity. If they are too wet, they can be ‘recooked’ to dry them out. (p072v_c1c) When they are dry enough they will ‘cry and crackle’ inside when you press them. (p145r_b2a)
- To flatten and polish cuttlefish bones for molding you can either:
- Rub them against flat surfaces (a table) or against each other (p072v_c1b)
- Smoothing them with a knife (p091r_a2)
- Rub and polish the two cuttlefish bones with pulverized brick and willow ash; this will function as a separator. (p091r_b2a) Your object must not be wet, greasy, or oily when you mold it. (p091r_b2b)
- Place the object to be cast on a flat surface or piece of brick, and then press the cuttlefish bone down onto it; you can use a stone on top of the bone to help you press downwards. (p091r_b2a)
- You can also press the two bones together around the object at the same time by placing the halves between your knees and pressing inwards. Be careful not to press so hard that you break the bones. (p091r_b2b)
- Cover your object (or is it the second cuttlefish bone?) with a light dusting of the willow charcoal and press the object again with the second bone. (OR – does this mean it should be molded twice with the same bone?) (p091r_b2a)
- Sidenote – to make your object dull again after molding, you can rub or brush it with oil and willow charcoal. (p091r_b2b)
- Since cuttlefish contracts and shrinks, you must retrace as much of the imprint of your object as you can with a chisel or penknife. (p091r_b2a)
- To join the two halves of your mold, make small notches in each so you are sure where the edges should match up. (p091r_b2b)
- You should cast in lead and tin – equal parts of each metal. (p091r_b2b) Make sure the lead is not so hot that it calcinates. (p091r_c2b) If the metal is too hot, the bone will start to brown or even burn. (p091r_b2b) You can dip a little bit of paper into the melted metal to test its heat; if the paper blackens it is too hot, but if it only browns it should be at about the right temperature. (p139r_c1c)
- Make sure your metal cools completely after casting before you take it out of the mold; if you take it out too soon, some of the bone may remove with the metal. (p091r_b2b)
Preparation of the cuttlefish bone
- In class, after discussing the various methods of preparation described in the manuscript, I decided to try the following preparation method for the cuttlefish bones - grinding in/on a mixture of brick and willow ash, and pressing between the hands, between the knees.
- As described in p091r_b2a, I ground my first two cuttlefish bones directly into crushed willow charcoal, on top of a terracotta plate. These first attempts went quite slowly, as it became clear that the scraping of the bones was being impeded by the crush of charcoal. On the suggestion of Andrew Lacey, I switched with later bones to grinding the fresh bones on a piece of brick - which was much faster, and produced a great quantity of pulverized white bone - and then patted the flatted bones back into the charcoal at the end , which created a light grey layer on the molding surfaces.
- (Another suggestion of Andrew's was to make sure that enough of the bone was worn away to create a one-inch-wide perimeter around the object we intended to mold and cast.)


Pressing and completing a mold (very difficult!)
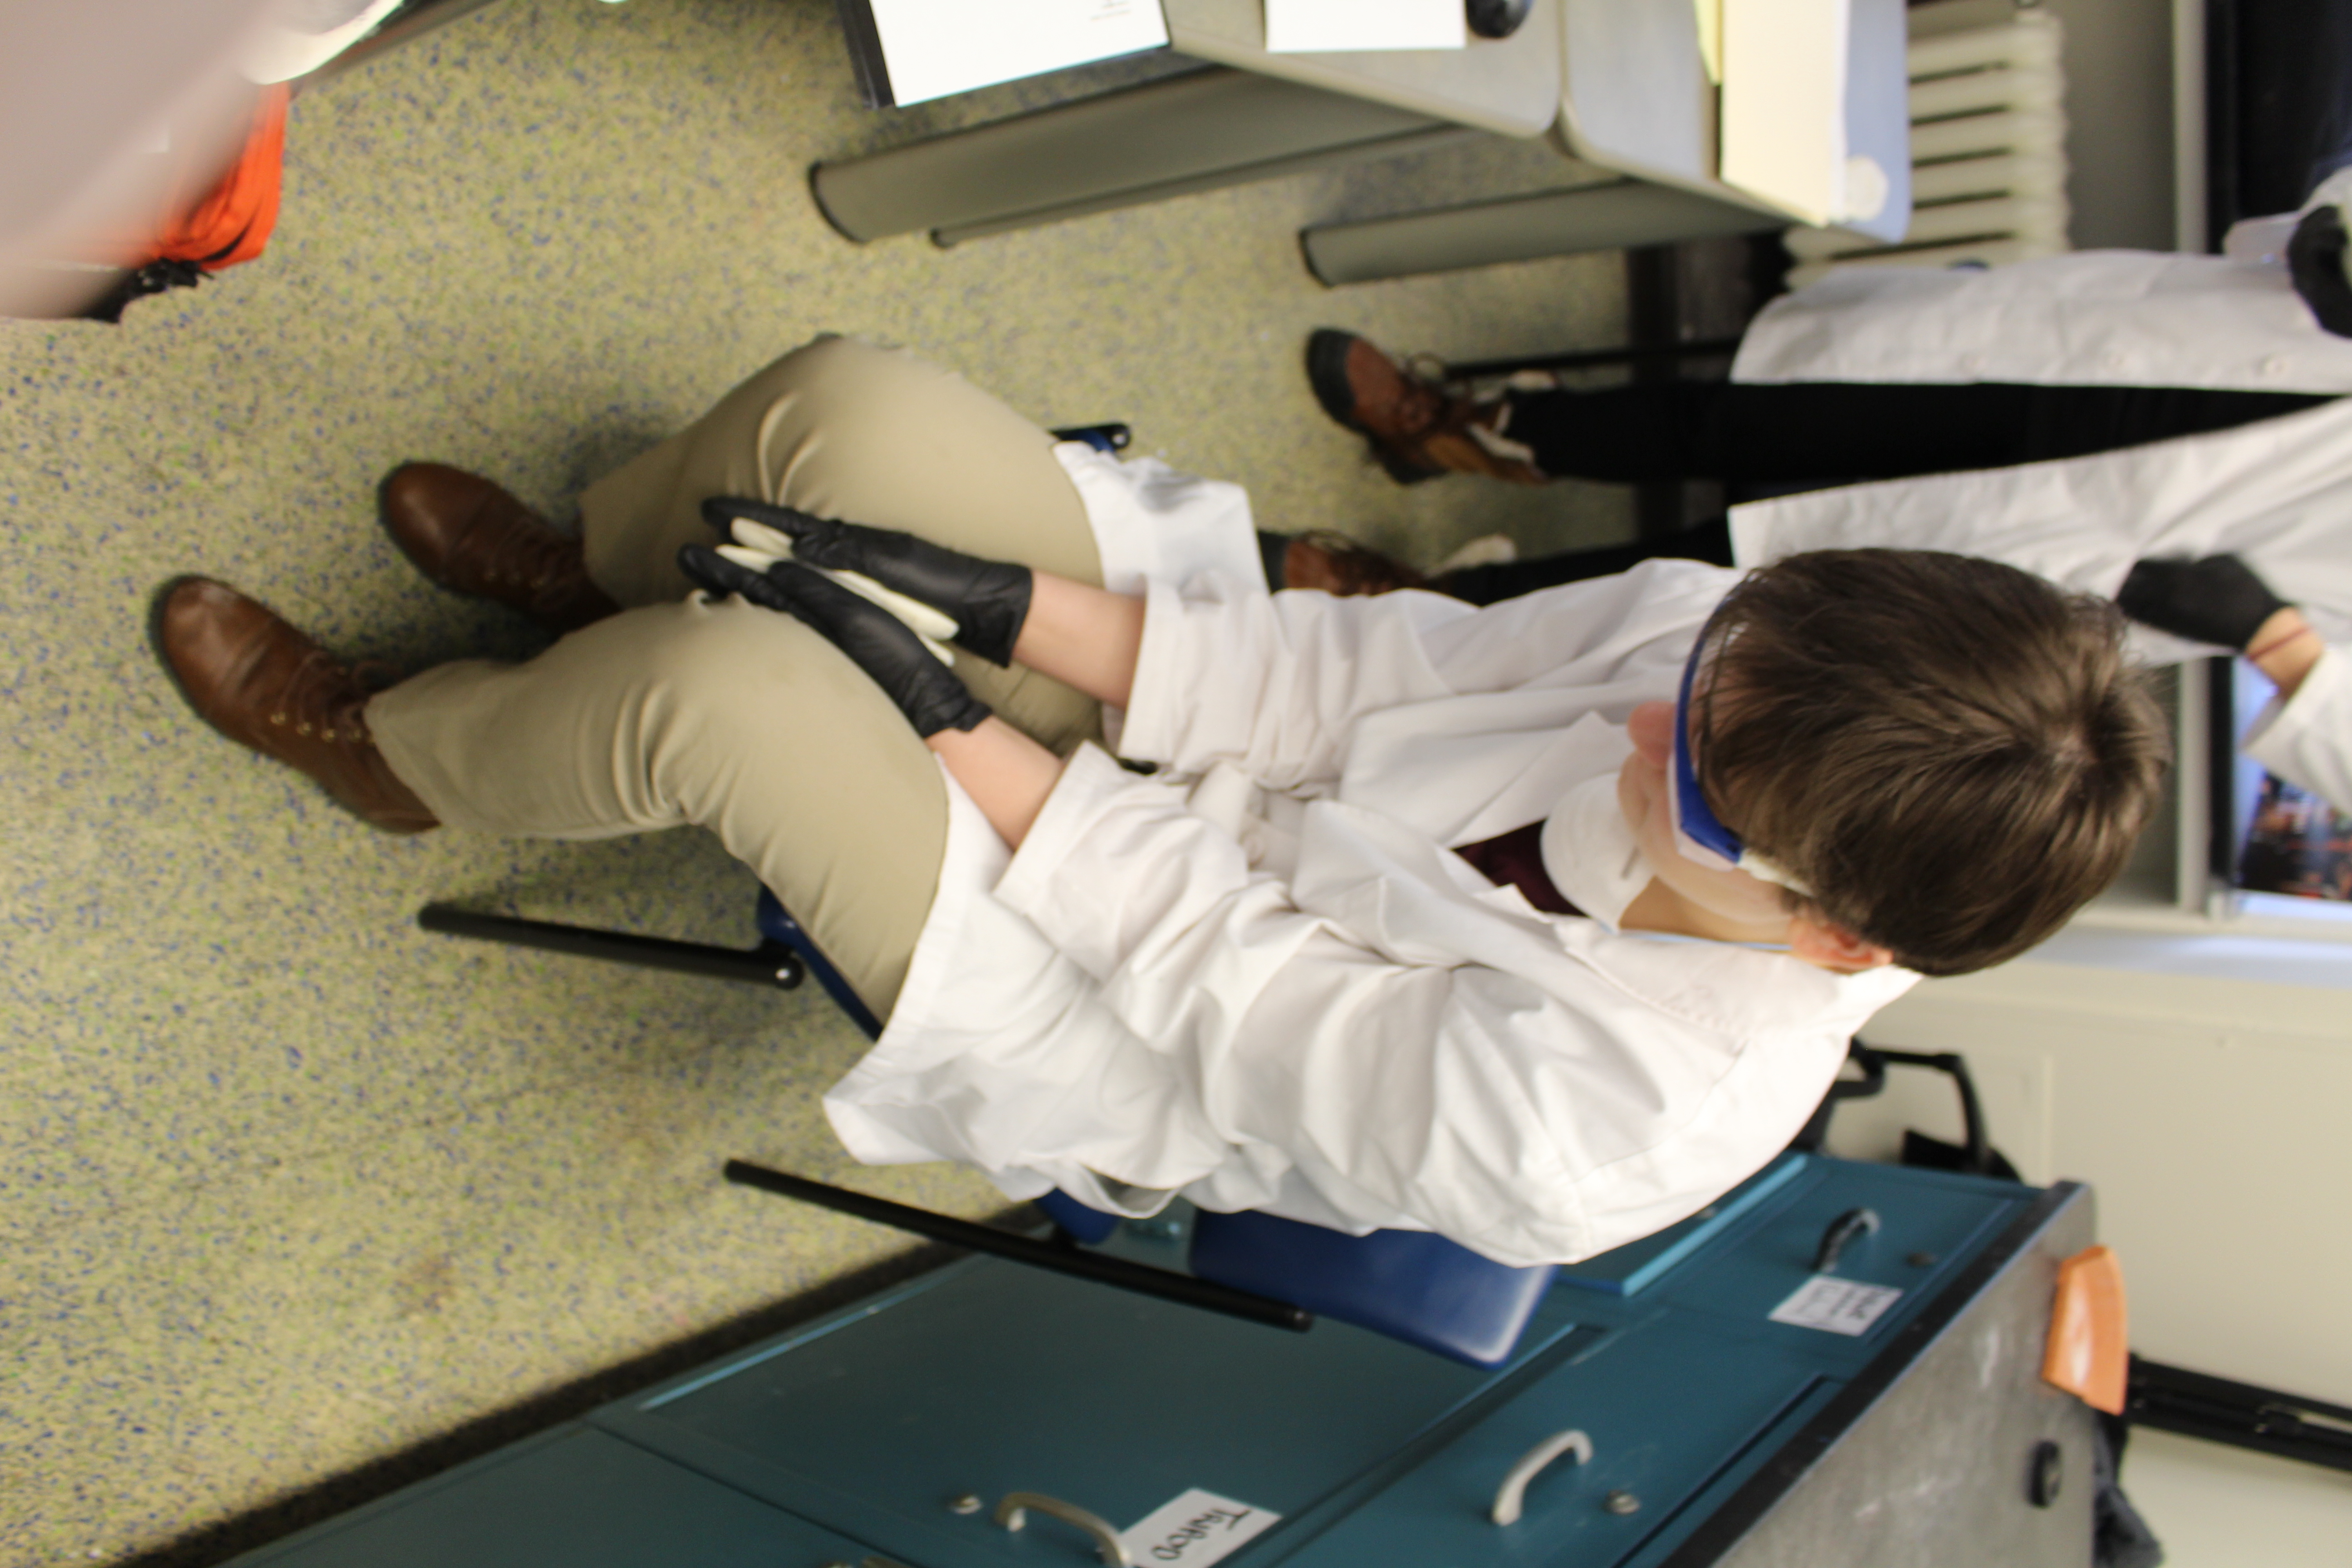
- I found my attempts to follow the 'between the knees' pressing method described in p091r_b2b to be very difficult, and most ended in failure - I certainly understand the author's caution to 'Be careful not to press so hard that you break the bones'! My first attempt was to press another version of the Geuzen medal I had used in previous casting experiments, to see if I could create a little collection of the form across various types of casting. Even pressing as hard (and as carefully) as I could, however, the medal shape was so shallow, and the bones hard enough, that I could make extremely little impression on the surface of either bone (and one of the bones then broke). I therefore ground the bones down again slightly so they were both flat again, and switched to a new shape - a domed, patterned earring.
- This was where the going got tough - the knee-pressing method simply would not work! I broke five different bones trying to cajole the earring into pressing itself; I tried pressing gently, pressing hard, and making sure my hands were placed so they were causing pressure solely on the parts of the bone which were impacting the earring, but time and again the bones broke.
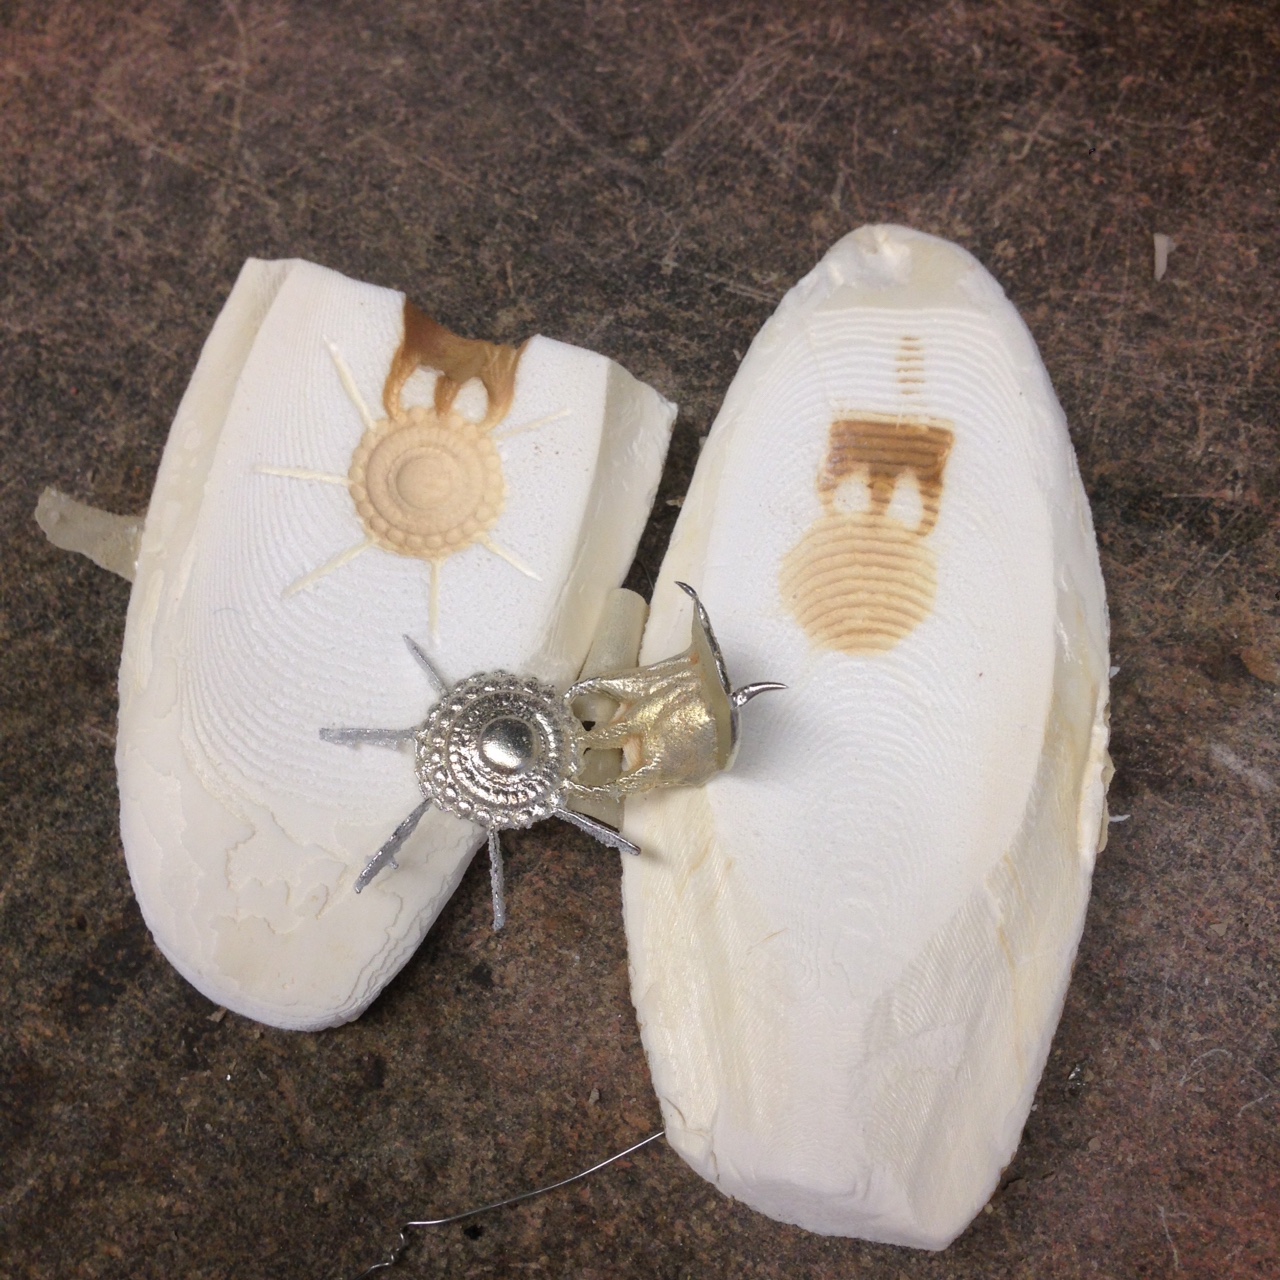
- Finally, mostly out of frustration (and feeling guilty about using up so many bones), I switched pressing methods to one which Prof. Smith was working with, described in p091r_b2a. I placed the earring flat on a countertop and pressed the cuttlefish bone down onto it, rolling the shape gently until I could see that as much of the earring as possible had impressed itself. This was still hard work, and yet another bone broke, but eventually I had a completed mold.


Casting
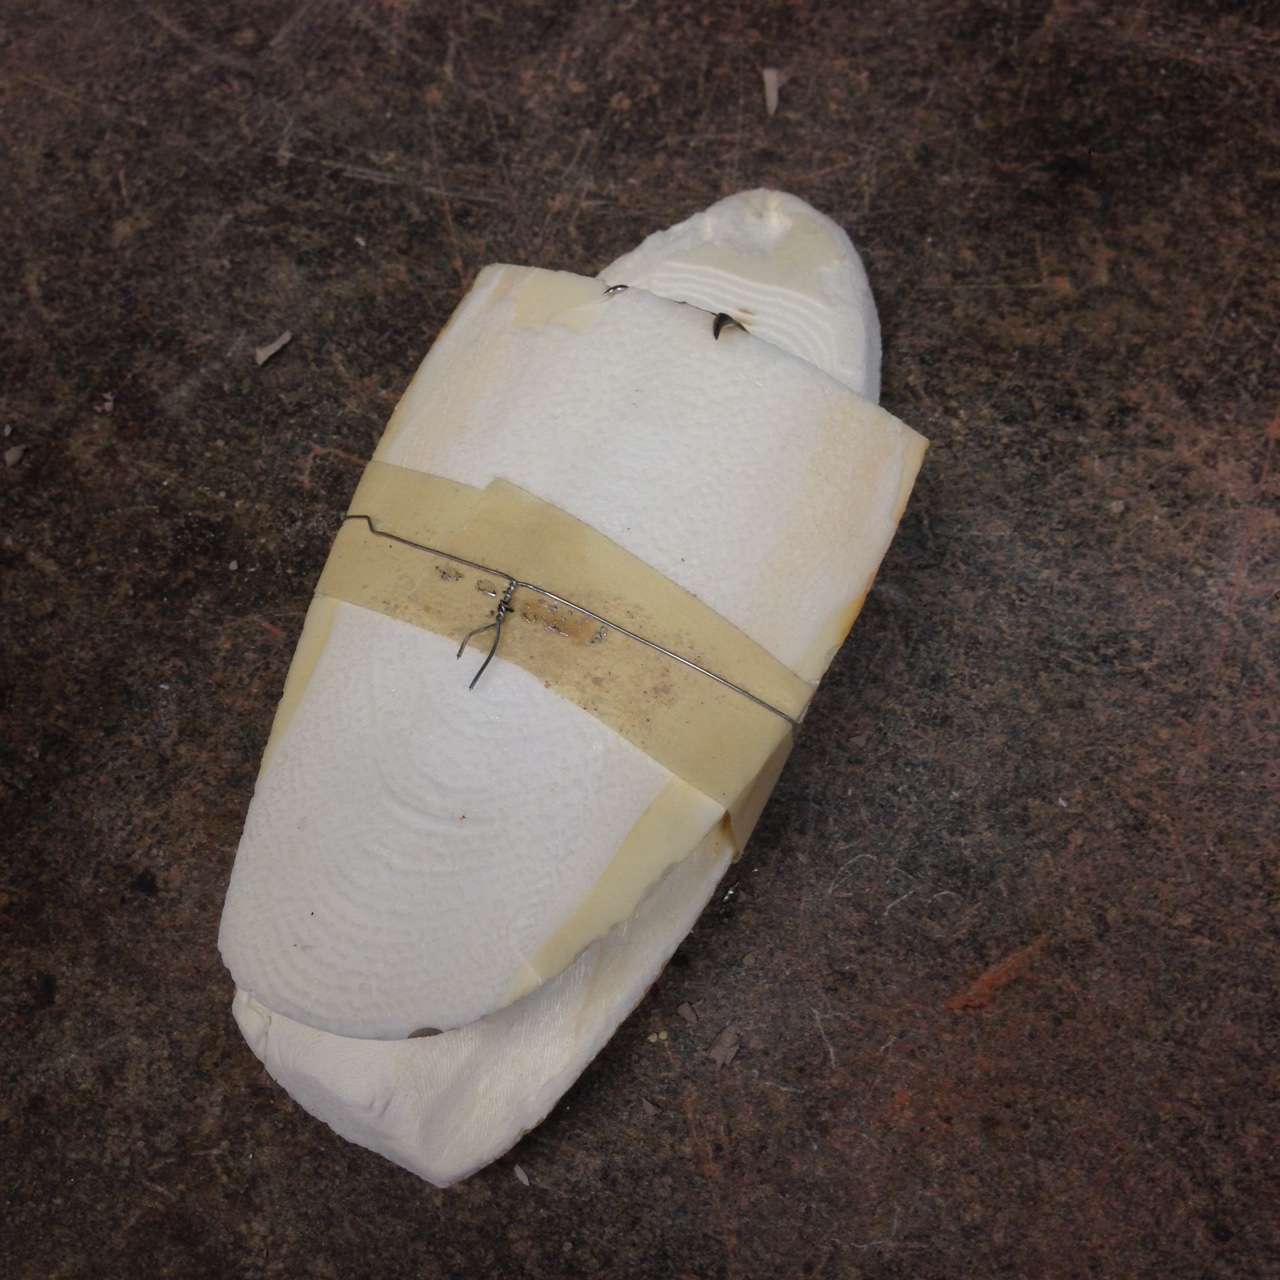
- Finishing preparation of the mold involved sawing one of my bones flat at the top; carving a wide tripartite ingate at the top of the type that our manuscript's author is so fond of; carving smaller sprue vents around the molded shape; and then binding and taping my two bones together with wire. No separator beyond the charcoal dust that was already on each bone was used.
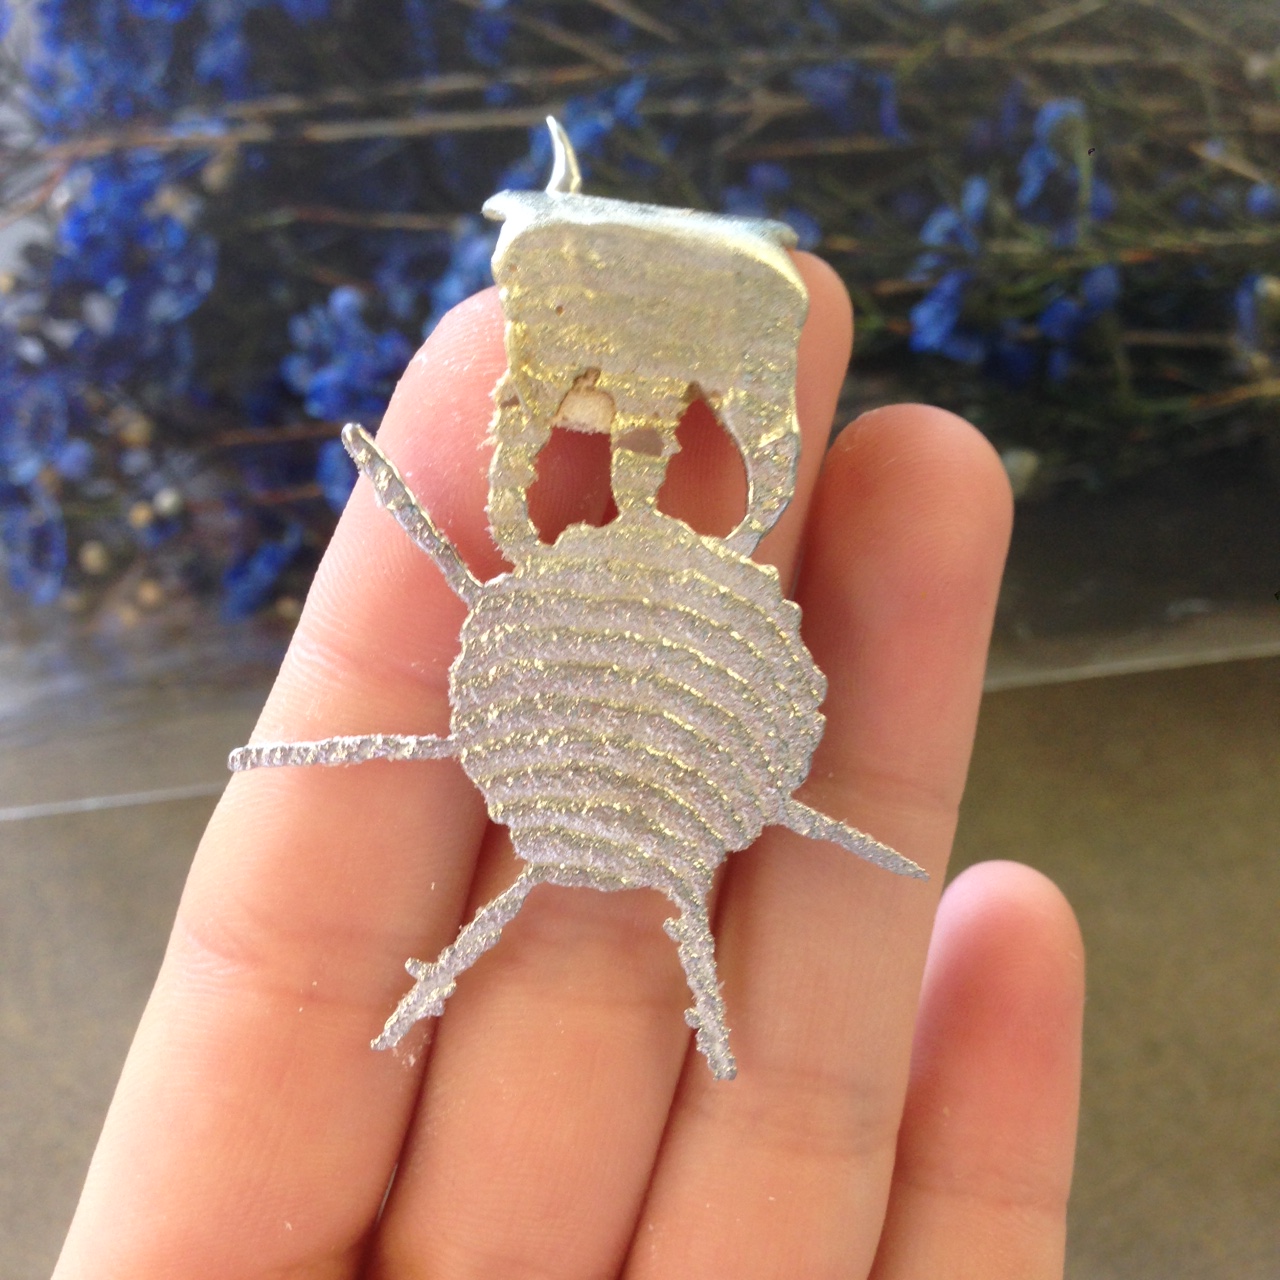
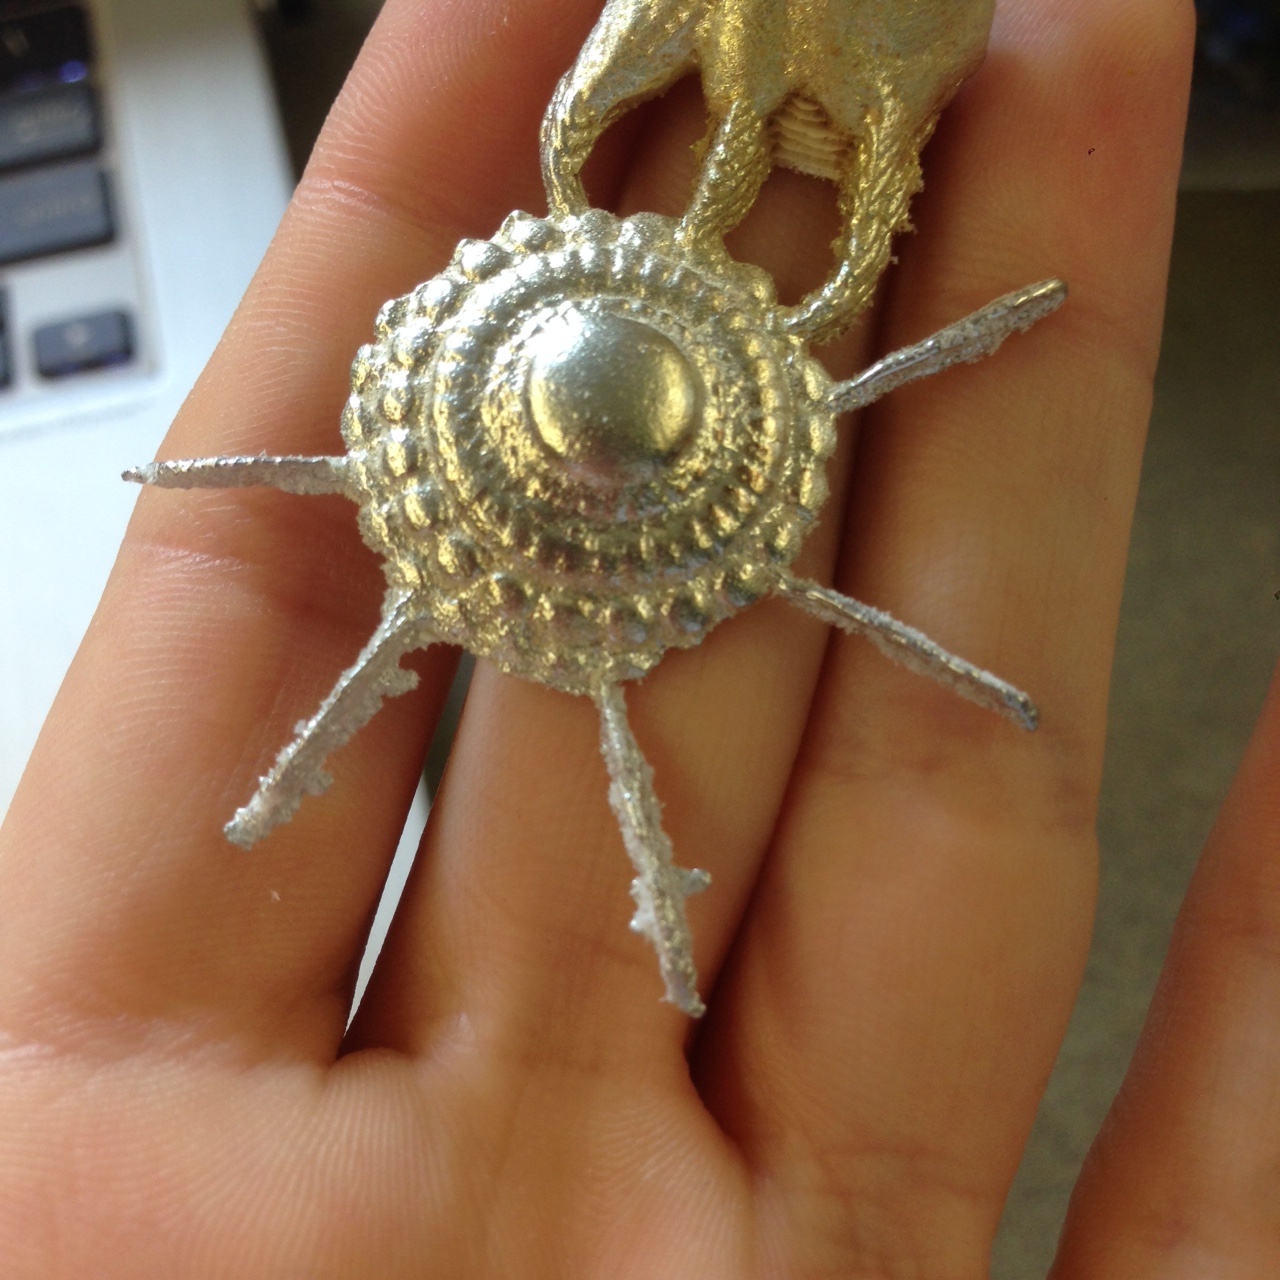
- Andrew Lacey poured a mixture of molten tin and lead (in 2:1 proportion), with the bones stood and supported upright in a bowl of sand. When I removed my cast item from the mold the following week, I was impressed by the detail it had captured, though I could still see that I had not fully pressed my object as it was uneven and had failed to capture one of the edges; it had, however, captured the pattern of the backing cuttlefish bone very well. The metal of the ingate and sprues was still quite soft and malleable, and could be bent with very little effort.
